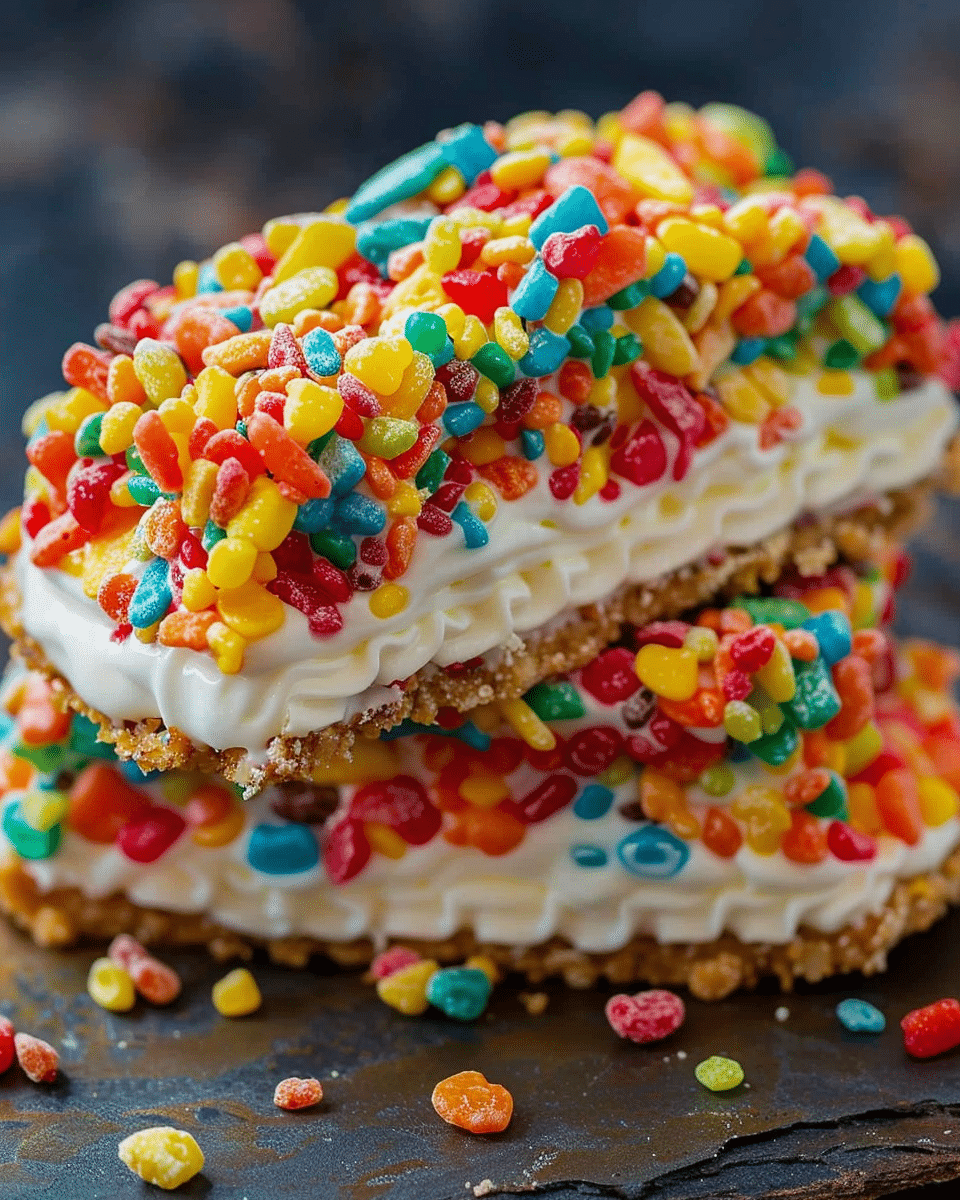
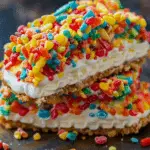
A playful, colorful dessert treat where crunchy Fruity Pebbles cereal meets creamy cheesecake in fun taco “shells”—perfect for parties, sweet tooth cravings, or anytime you want a whimsical treat with minimal effort.
Why You’ll Love This Recipe
I love how these cheesecake tacos combine childhood nostalgia with adult indulgence. The crunchy, cereal-coated shells deliver a burst of color and texture, while the fluffy cheesecake filling is delightfully smooth. They’re fun, handheld, and perfect for customizing with your favorite toppings!
ingredients
(Here’s a tip: Check out the full list of ingredients and measurements in the recipe card below.)
-
For the shells:
-
Flour tortillas (small to medium size)
-
Fruity Pebbles cereal
-
Butter, melted
-
Sugar (optional, for extra sweetness)
-
-
For the cheesecake filling:
-
Cream cheese, softened
-
Powdered sugar
-
Vanilla extract
-
Heavy cream (or whipped topping)
-
-
Optional toppings:
-
Mini marshmallows
-
Sprinkles or extra Fruity Pebbles
-
Chocolate drizzle or fruit compote
-
directions
-
I preheat the oven to 350 °F (175 °C). I brush both sides of each tortilla with melted butter, sprinkle lightly with sugar if using, then press them into the cups of a muffin tin to form taco shells.
-
I bake tortillas for 8–10 minutes, flipping halfway, until they’re crisp and slightly golden—then I let them cool in the tin so they keep their shell shape.
-
I pour Fruity Pebbles into a shallow bowl. Once the shells are cool enough to handle, I brush the outside with butter and press into the cereal until fully coated.
-
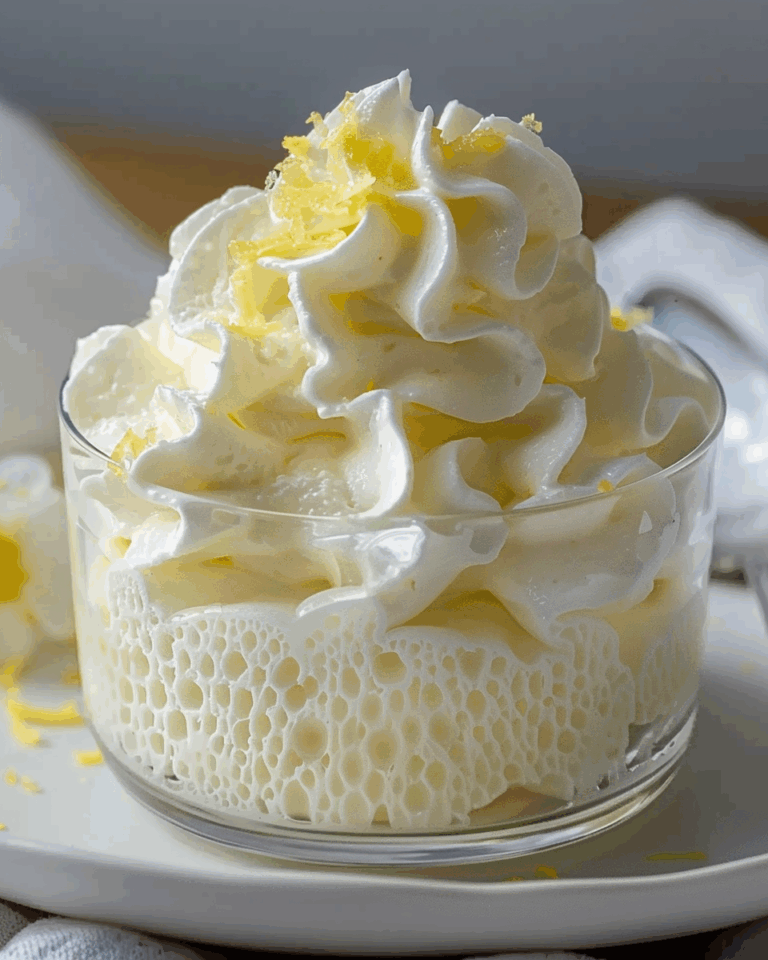
Meanwhile, I whisk together softened cream cheese, powdered sugar, and vanilla until smooth. I whip in heavy cream until the filling is light and fluffy—like a firm mousse.
-
I spoon or pipe the cheesecake filling into each cereal-coated shell, filling nearly to the top.
-
I garnish with mini marshmallows, extra cereal, sprinkles, or a drizzle of chocolate or fruit compote—whatever suits my mood.
-
I chill the tacos in the fridge for at least 30 minutes to set the filling before serving.
Servings and timing
This recipe makes about 8–10 miniature cheesecake tacos. Prep takes around 15–20 minutes, baking and cooling the shells about 10 minutes, and chilling the filled tacos at least 30 minutes—so you’ll be ready in under an hour total.
Variations
-
Fruit twist: I swirl in crushed strawberries or raspberries into the cheesecake mixture for a fruity flavor.
-
Chocolate lovers: I mix cocoa powder into the filling and sprinkle mini chocolate chips on top.
-
Nutty crunch: I add chopped nuts (like almonds or pecans) to the cereal coating for extra texture.
-
Seasonal version: I swap Fruity Pebbles for fall mix cereals (like pumpkin spice or caramel apple) for a seasonal twist.
storage/reheating
I store the assembled tacos in an airtight container in the fridge for up to 3 days. I don’t reheat them—they’re best served cold and fresh right out of the fridge.
FAQs
Can I use gluten-free shells?
Absolutely—I use gluten-free tortillas or waffle cones as shell substitutes and leave everything else the same.
How do I keep the shells crisp after filling?
I chill them before filling and work quickly—this helps prevent the cereal coating from softening from the filling’s moisture.
Can I prepare the shells in advance?
Yes—I bake and coat the shells a day ahead and store them in an airtight container. I fill them just before serving to keep them crisp.
Is the filling wheaty-free and nut-free?
Yes—the basic recipe is nut-free and dairy-based. Substitute dairy-free cream cheese and topping if needed for an allergy-friendly version.
Can I make them ahead for a party?
Definitely—I bake and coat the shells earlier, fill the tacos a couple hours before serving, and keep them chilled until guests arrive.
Conclusion
I find these Fruity Pebbles Cheesecake Tacos to be an absolute delight—bright, crunchy, creamy, and utterly fun. They’re perfect when you want a charming dessert that’s easy to assemble and sure to spark joy. Let me know if you’d like ideas for toppings or ways to adapt them for dietary preferences!
Fruity Pebbles Cheesecake Tacos
- Author: Olivia
- Prep Time: 15–20 minutes
- Cook Time: undefined
- Total Time: under 1 hour
- Yield: 8–10 mini tacos
- Category: Dessert, Party Treat
- Method: No‑bake filling, baked shells
- Cuisine: American
Description
Crunchy mini taco shells coated in colorful Fruity Pebbles, filled with creamy cheesecake — a whimsical and vibrant handheld dessert perfect for parties or sweet cravings.
Ingredients
- 8–10 small flour tortillas
- 2 Tbsp melted butter
- 1 Tbsp granulated sugar (optional)
- 1 cup Fruity Pebbles cereal
- 8 oz cream cheese, softened
- ½ cup powdered sugar
- 1 tsp vanilla extract
- ¼–⅓ cup heavy cream (or whipped topping)
- Optional toppings: mini marshmallows, extra cereal, sprinkles, chocolate drizzle, fruit compote
Instructions
- Preheat oven to 350 °F (175 °C). Brush both sides of each tortilla with melted butter and sprinkle with sugar (if using).
- Press tortillas into the cups of a muffin tin to shape shells and bake for 8–10 minutes, flipping halfway, until crisp and golden.
- Let shells cool in the tin to hold their shape.
- Pour Fruity Pebbles into a shallow bowl. Gently brush cooled shells with butter and press into cereal to coat fully.
- In a bowl, beat cream cheese with powdered sugar and vanilla until smooth. Whip in heavy cream until light and fluffy.
- Spoon or pipe cheesecake filling into each cereal-coated shell.
- Top with mini marshmallows, extra cereal, sprinkles, chocolate drizzle, or fruit compote.
- Chill tacos in the fridge for at least 30 minutes to set before serving.
Notes
- Gluten‑free option: Use gluten‑free tortillas or waffle cones for shells.
- Crispness tip: Chill shells before filling and fill just before serving to avoid sogginess.
- Make‑ahead: Bake and coat shells a day ahead; fill a few hours before serving.
- Dairy‑free version: Substitute dairy‑free cream cheese and whipped topping.
Nutrition
- Serving Size: 1 taco
- Calories: approx. 180 kcal
- Sugar: 15 g
- Sodium: 120 mg
- Fat: 10 g
- Saturated Fat: 6 g
- Unsaturated Fat: undefined
- Trans Fat: undefined
- Carbohydrates: 18 g
- Fiber: 1 g
- Protein: 3 g
- Cholesterol: 30 mg

