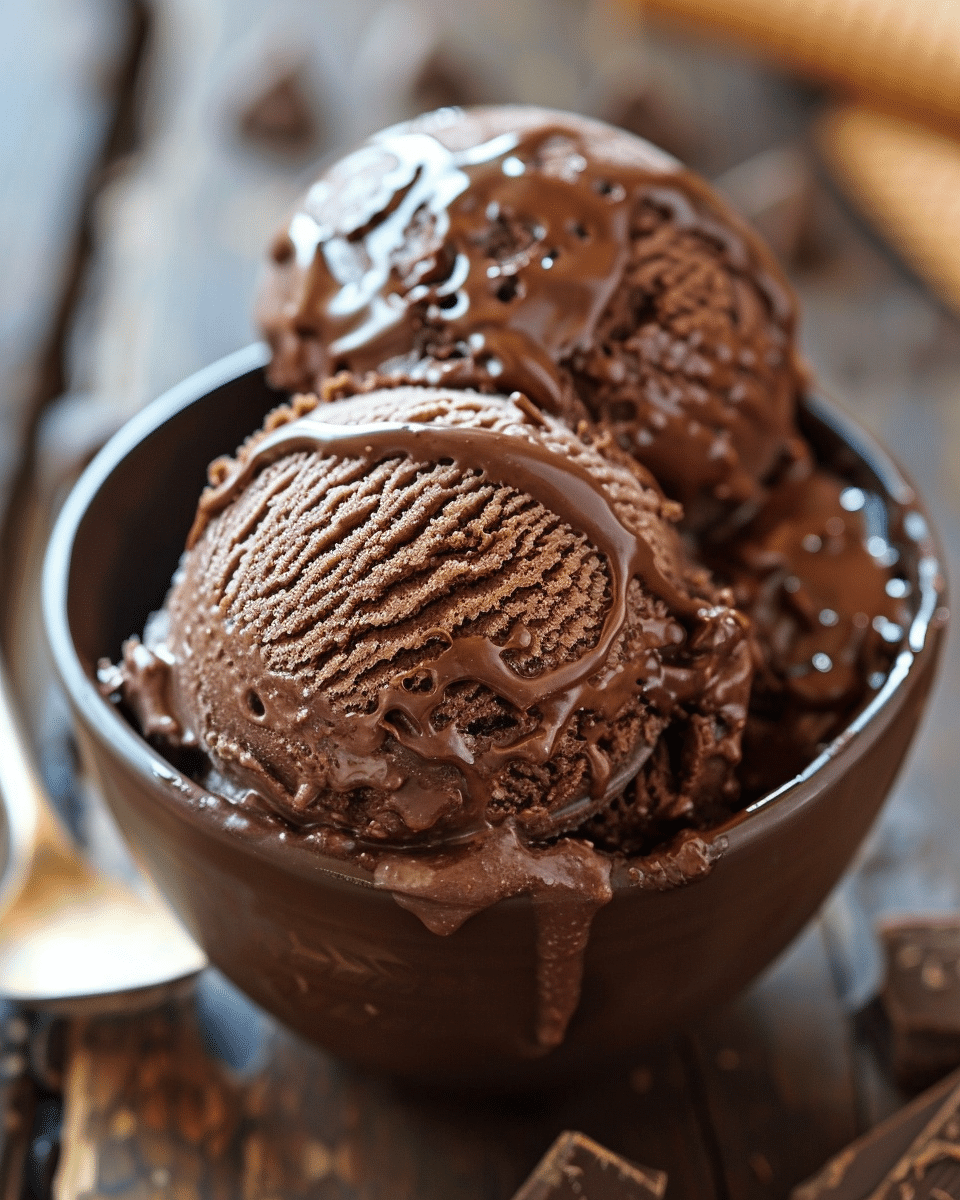
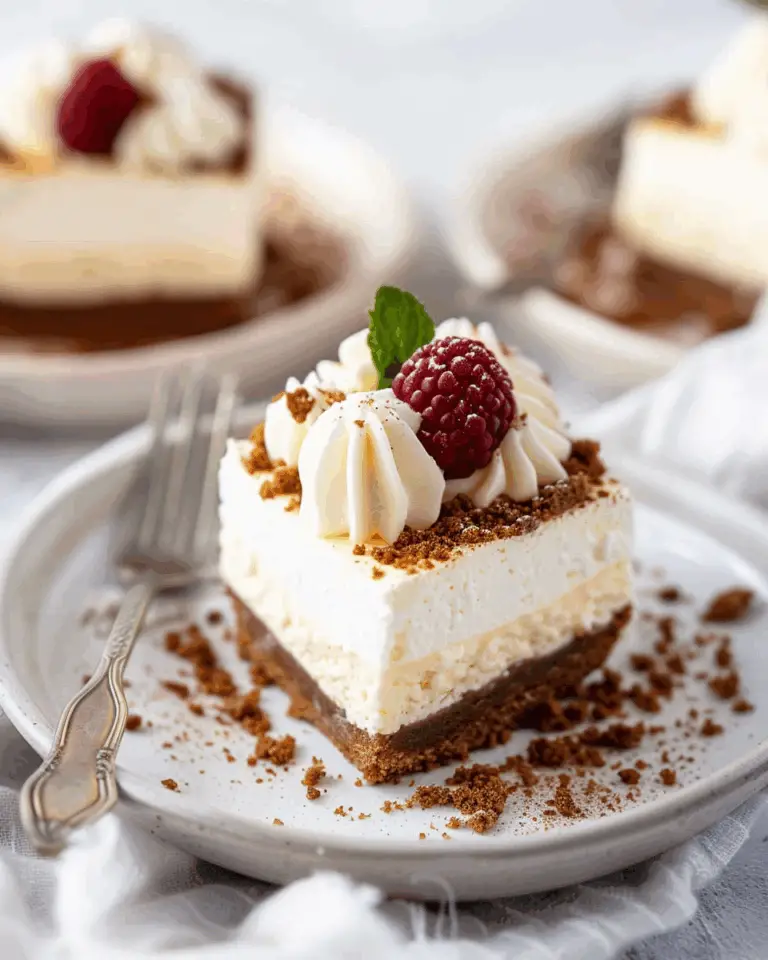
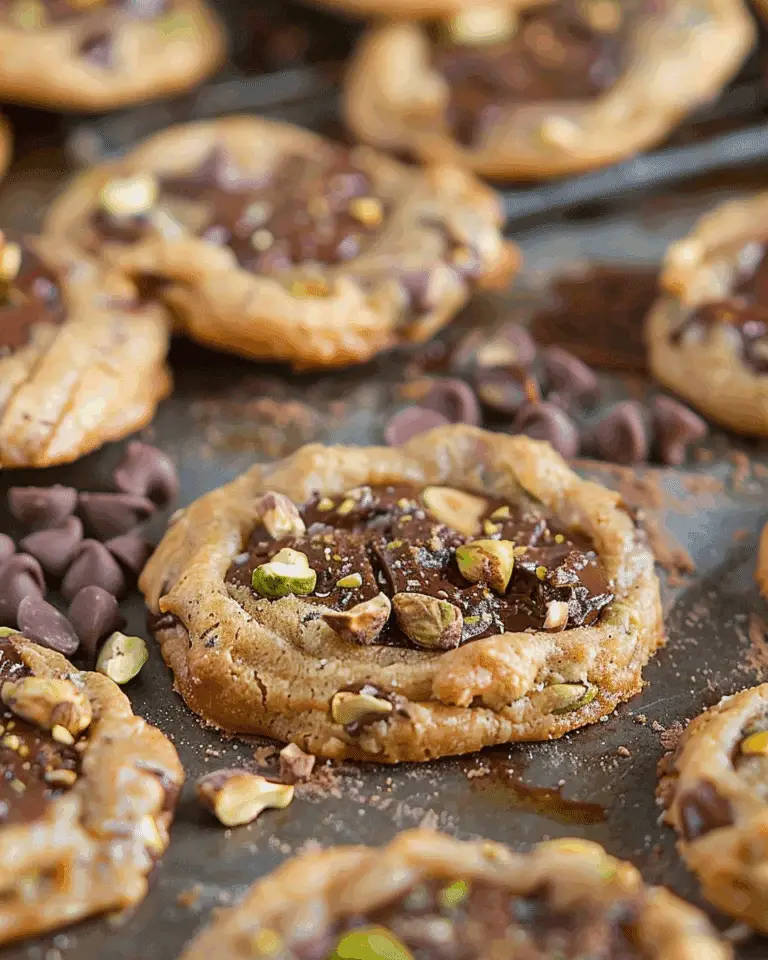
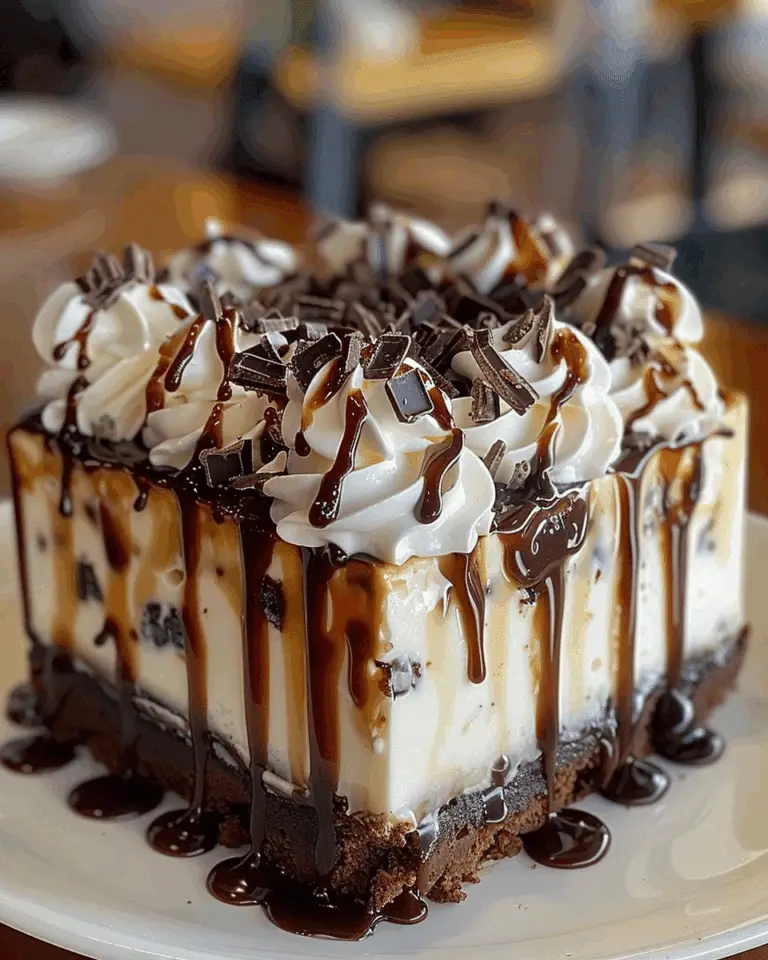
Chocolate Coated Ice Cream is a simple, indulgent treat that brings together the creamy goodness of ice cream and the crispy crunch of a chocolate shell. Whether I use store-bought ice cream or homemade, this dessert is a fun way to elevate any ice cream experience. The chocolate coating hardens into a satisfying shell, while the creamy ice cream inside stays soft and delightful. It’s the perfect summer treat or a sweet indulgence any time of the year.
Why You’ll Love This Recipe
What I love about Chocolate Coated Ice Cream is the contrast between the cold, creamy ice cream and the rich, crunchy chocolate shell. The best part is how customizable it is – I can use my favorite ice cream flavor, whether it’s vanilla, chocolate, or a fruity variety. The chocolate coating is easy to make, and the entire treat is incredibly fun to eat. It’s also a great way to impress guests or serve a special dessert to the family without needing an ice cream machine!
Ingredients
-
1 pint ice cream (any flavor of your choice)
-
1 1/2 cups semi-sweet chocolate chips or chopped chocolate
-
2 tablespoons coconut oil or vegetable oil (for a smoother coating)
-
Optional toppings: chopped nuts, sprinkles, crushed candy, or sea salt
(Here’s a tip: Check out the full list of ingredients and measurements in the recipe card below.)
Directions
1. Scoop the Ice Cream:
-
Scoop the ice cream into individual servings, forming balls or rectangular shapes. Place them on a baking sheet lined with parchment paper or wax paper to prevent sticking.
-
Once all the scoops are ready, freeze them for about 30 minutes to an hour. This helps them firm up, making it easier to coat them with chocolate.
2. Melt the Chocolate:
-
In a microwave-safe bowl, combine the chocolate chips and coconut oil. Microwave in 20-30 second intervals, stirring in between, until the chocolate is fully melted and smooth. Alternatively, I can melt the chocolate using a double boiler if I prefer.
-
Allow the melted chocolate to cool slightly for a few minutes before dipping the ice cream.
3. Coat the Ice Cream:
-
Once the ice cream scoops have firmed up, dip each one into the melted chocolate, making sure to fully coat the ice cream. Hold the ice cream by the stick or spoon and dip it into the chocolate, swirling it to cover it completely.
-
Let any excess chocolate drip off, then place the coated ice cream back on the parchment-lined tray.
4. Add Toppings (Optional):
-
Before the chocolate shell hardens, I can sprinkle the coated ice cream with any toppings I like, such as chopped nuts, crushed candies, sprinkles, or a pinch of sea salt for added flavor.
5. Freeze and Serve:
-
Once all the ice cream scoops are coated and topped, return the tray to the freezer and let the chocolate shell harden for about 20-30 minutes.
-
Once the chocolate is set, the ice cream is ready to serve! For best results, keep it in the freezer until ready to enjoy.
Servings and Timing
This recipe makes about 6-8 chocolate-coated ice cream treats, depending on the size of the scoops. It takes about 15 minutes to prep the ice cream scoops, 10 minutes to melt the chocolate, and 20-30 minutes for freezing. The total time is about 1 hour for everything to set, but the hands-on time is minimal.
Variations
-
Different Chocolate Coating: I can use milk chocolate, dark chocolate, or white chocolate for different flavors and textures. For a dairy-free option, I can use dairy-free chocolate chips and coconut oil.
-
Flavor Combinations: For a fun twist, I can use different ice cream flavors or add mix-ins like crushed cookies, brownie bites, or swirls of caramel inside the ice cream before dipping.
-
Nutty Coating: To add extra crunch, I can roll the chocolate-coated ice cream in crushed nuts like almonds, peanuts, or pistachios right after dipping.
-
Colorful Toppings: For a fun pop of color, I can add rainbow sprinkles or edible glitter to the chocolate-coated ice cream. This makes it perfect for a party or a festive treat.
Storage/Reheating
I store leftover Chocolate Coated Ice Cream in an airtight container in the freezer for up to 1-2 weeks. To prevent the chocolate from cracking when eating, it’s best to let the ice cream sit at room temperature for a couple of minutes before biting into it.
FAQs
Can I use any type of ice cream?
Yes! I can use any flavor of ice cream I like—vanilla, chocolate, strawberry, or even a fruity sorbet. Just make sure to freeze the ice cream scoops well before coating them.
Can I make the chocolate coating thicker?
If I want a thicker chocolate coating, I can dip the ice cream twice in the melted chocolate, letting the first layer harden before dipping it again.
Can I make these ahead of time?
Yes, these can be made ahead of time. I can prepare the chocolate-coated ice cream and freeze them for up to a week before serving. They’ll stay fresh and delicious in the freezer.
How do I make sure the chocolate coating stays smooth?
To keep the chocolate smooth, it’s important to use coconut oil or vegetable oil in the chocolate. This helps it stay fluid and easy to work with while dipping the ice cream.
Can I make these without using sticks?
Yes! If I don’t want to use sticks, I can simply serve the chocolate-coated ice cream scoops in bowls or cups. The chocolate shell will harden just the same.
Conclusion
Chocolate Coated Ice Cream is a simple yet indulgent treat that’s perfect for any occasion. Whether I’m making it for a special event, a family dessert, or just a fun treat for myself, it’s always a hit. The crispy, crunchy chocolate shell combined with the creamy, chilled ice cream makes for an irresistible dessert that will have everyone reaching for more!

Chocolate Coated Ice Cream
- Author: Olivia
- Prep Time: 15 minutes
- Cook Time: 10 minutes
- Total Time: 1 hour
- Yield: 6-8 servings
- Category: Dessert
- Method: No-Bake
- Cuisine: American
- Diet: Vegetarian
Description
Chocolate Coated Ice Cream is a fun, customizable dessert where scoops of creamy ice cream are dipped in a smooth chocolate shell that hardens instantly. It’s a simple, indulgent treat perfect for summer or special occasions.
Ingredients
- 1 pint ice cream (any flavor)
- 1 1/2 cups semi-sweet chocolate chips or chopped chocolate
- 2 tablespoons coconut oil or vegetable oil
- Optional toppings: chopped nuts, sprinkles, crushed candy, or sea salt
Instructions
- Line a baking sheet with parchment or wax paper. Scoop ice cream into balls or desired shapes and place on the sheet. Freeze for 30-60 minutes until firm.
- In a microwave-safe bowl, combine chocolate chips and coconut oil. Microwave in 20-30 second intervals, stirring in between, until melted and smooth. Let cool slightly.
- Dip each frozen ice cream scoop into the melted chocolate, covering completely. Let excess chocolate drip off and return to the tray.
- Immediately add any toppings like nuts or sprinkles before the chocolate hardens.
- Freeze the coated ice cream for 20-30 minutes or until the shell is fully hardened. Serve and enjoy!
Notes
- Use any ice cream flavor you like for variety.
- Double-dip for a thicker chocolate shell.
- Store leftovers in the freezer in an airtight container.
- Let sit for 2 minutes before eating for best texture.
- Try different chocolates: dark, milk, white, or dairy-free.
Nutrition
- Serving Size: 1 scoop
- Calories: 250
- Sugar: 22g
- Sodium: 40mg
- Fat: 16g
- Saturated Fat: 11g
- Unsaturated Fat: 4g
- Trans Fat: 0g
- Carbohydrates: 26g
- Fiber: 2g
- Protein: 2g
- Cholesterol: 15mg

