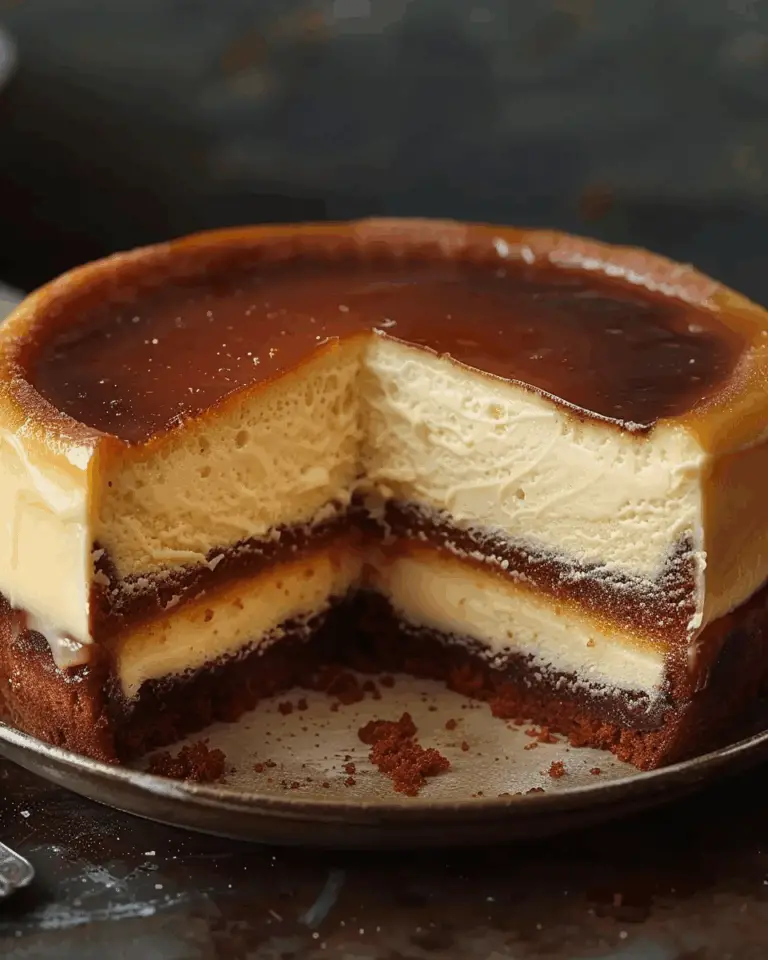
These Cherry Cream Cheese Hand Pies made with canned biscuits are one of my favorite quick-fix desserts. They’re golden, flaky, and filled with sweet cream cheese and fruity cherry pie filling—all wrapped up in a warm, handheld treat. Using canned biscuits makes the whole process super easy, and the results are every bit as delicious as something made from scratch.

Why You’ll Love This Recipe
I love how fast and foolproof these hand pies are. The biscuits bake up fluffy and golden, while the creamy filling and sweet cherries create a rich, indulgent center. They’re perfect for satisfying a dessert craving without making a full pie, and I can customize the fillings any way I like. Whether I make them for a family treat or a party snack, they always disappear fast.
ingredients
(Here’s a tip: Check out the full list of ingredients and measurements in the recipe card below.)
-
1 can of Grands-style refrigerated biscuits
-
1 (8 oz) block cream cheese, softened
-
1 cup powdered sugar
-
1 teaspoon vanilla extract
-
1 can cherry pie filling
-
Non-stick spray or melted butter (for brushing)
directions
-
I preheat the oven to 375°F (190°C) and line a baking sheet with parchment paper or lightly grease it with non-stick spray.
-
I mix the softened cream cheese with powdered sugar and vanilla until smooth and creamy.
-
I separate the biscuits and roll each one out on a floured surface until flat—about 5 to 6 inches wide.
-
I place a spoonful of the cream cheese mixture and a small scoop of cherry pie filling in the center of each biscuit.
-
I fold the biscuit over into a half-moon shape and crimp the edges with a fork to seal.
-
I place the filled hand pies on the baking sheet and lightly spray or brush the tops with oil or melted butter.
-
I bake for 15–18 minutes, or until golden brown and puffed.
-
I let them cool slightly before serving. Optional: I dust with powdered sugar or drizzle with a simple icing.
Servings and timing
This recipe makes 8 hand pies (1 per biscuit).
Prep time: 15 minutes
Bake time: 18 minutes
Total time: 33 minutes
Variations
Sometimes I use apple or blueberry pie filling instead of cherry, or I swap the cream cheese mixture for Nutella or peanut butter. For a fun twist, I’ve added chocolate chips or a sprinkle of cinnamon sugar inside. If I want a glaze, I mix powdered sugar with a bit of milk and drizzle it over the warm pies.
storage/reheating
I store leftovers in an airtight container at room temperature for up to 2 days or in the fridge for up to 4. To reheat, I pop them in a 300°F (150°C) oven for about 5–7 minutes, or warm them in the microwave for 15–20 seconds.
FAQs
Can I use low-fat cream cheese?
Yes, I’ve used light cream cheese and it still tastes great—just slightly less rich.
What’s the best way to seal the edges?
I press them firmly with a fork and sometimes dampen the edge with a bit of water for extra hold.
Can I air fry these?
Definitely. I air fry at 350°F (175°C) for about 10–12 minutes, flipping halfway through.
Do I need to chill the filling first?
No, the cream cheese filling goes in as-is. It softens as it bakes and creates a creamy center.
Can I make these ahead of time?
Yes, I assemble them and refrigerate uncooked for a few hours. Then I bake when ready to serve.
Conclusion
These Cherry Cream Cheese Hand Pies are my kind of quick dessert—easy to make, totally delicious, and full of nostalgic flavor. With a buttery crust, sweet-tart cherries, and rich cream cheese, they’re the perfect little treat for any occasion. And the best part? They start with canned biscuits, so I can have them ready in no time.

Cherry Cream Cheese Hand Pies with Canned Biscuits
- Author: Olivia
- Prep Time: 10 minutes
- Cook Time: 35 minutes
- Total Time: 45 minutes
- Yield: 4 servings
- Category: Side Dish
- Method: Roasting
- Cuisine: American
- Diet: Vegetarian
Description
Garlic Butter Roasted Sweet Potatoes are crispy on the edges, tender in the middle, and coated in rich garlic butter—an easy, flavorful side dish that pairs with just about anything.
Ingredients
- 3–4 medium sweet potatoes, peeled and cubed
- 3 tablespoons unsalted butter, melted
- 2 cloves garlic, minced
- 1 tablespoon olive oil
- Salt and black pepper, to taste
- Optional: chopped fresh parsley or thyme for garnish
Instructions
- Preheat the oven to 400°F (200°C) and line a baking sheet with parchment paper.
- In a large bowl, toss sweet potato cubes with melted butter, olive oil, minced garlic, salt, and pepper until evenly coated.
- Spread the sweet potatoes in a single layer on the prepared baking sheet, avoiding overcrowding.
- Roast for 30–35 minutes, flipping halfway, until golden brown and crisp on the edges.
- Garnish with fresh herbs, if desired, and serve warm.
Notes
- Sprinkle smoked paprika or cayenne for added spice.
- Drizzle with maple syrup or add cinnamon for a sweet twist.
- Toss with grated parmesan in the last 5 minutes of roasting for a cheesy finish.
- Pair with roasted chickpeas or quinoa for a complete meal.
- Leave skins on for extra texture and nutrients—just scrub well.
Nutrition
- Serving Size: 1 serving
- Calories: 180
- Sugar: 6g
- Sodium: 150mg
- Fat: 10g
- Saturated Fat: 5g
- Unsaturated Fat: 4g
- Trans Fat: 0g
- Carbohydrates: 22g
- Fiber: 3g
- Protein: 2g
- Cholesterol: 20mg


