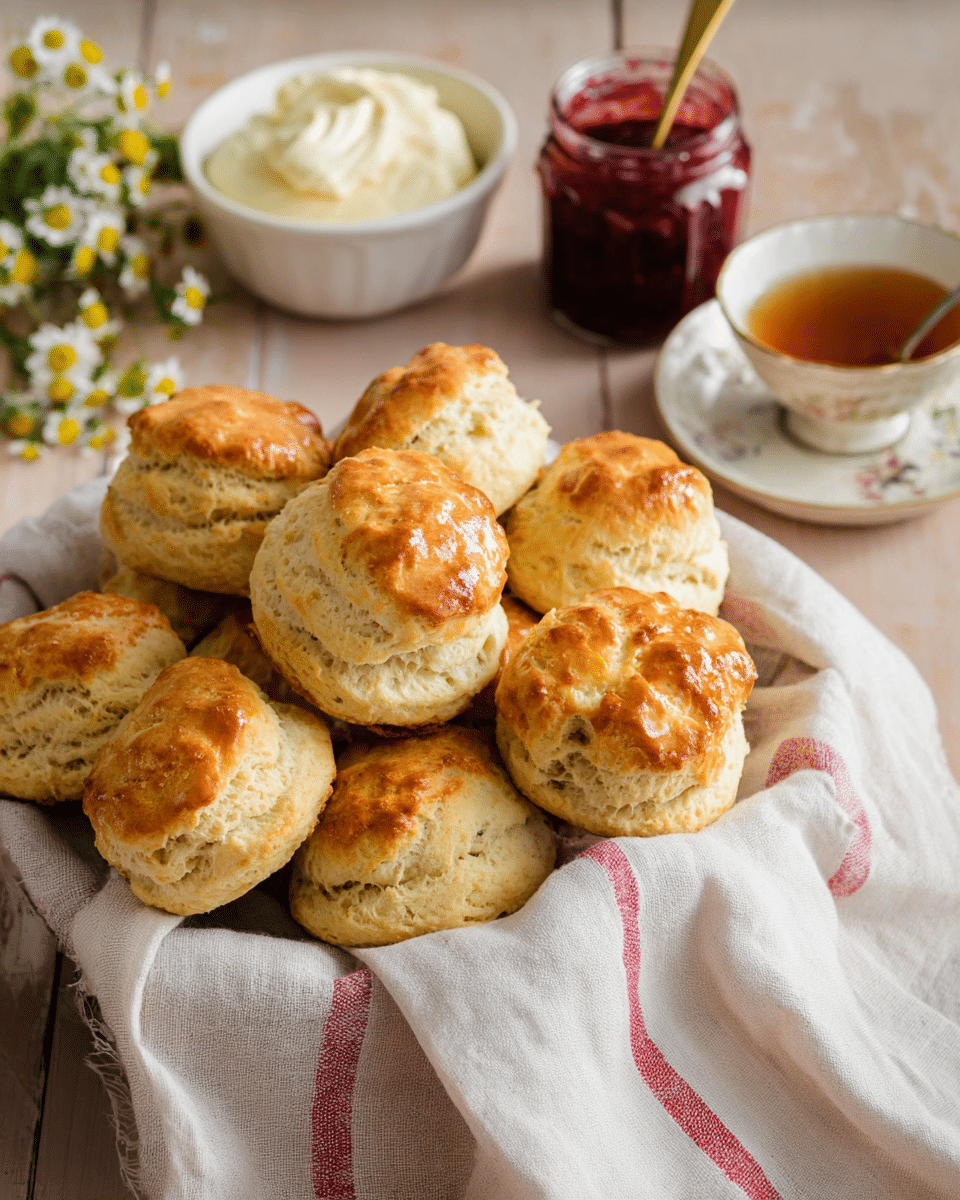
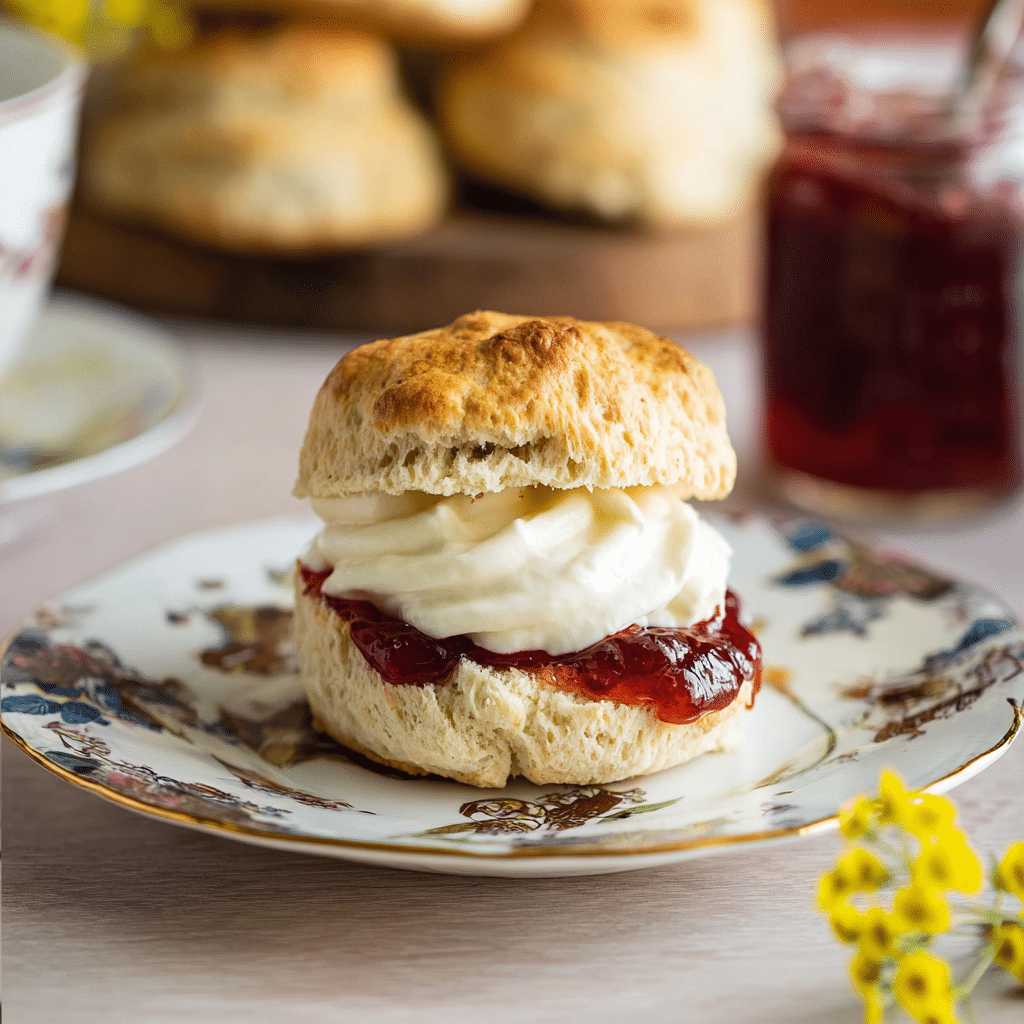
If you’ve been searching for the ultimate treat to brighten your mornings or elevate your afternoon tea, look no further than this Buttermilk Scone Recipe. Light, fluffy, and gently sweetened, every batch promises scones with a perfectly golden crust and an irresistibly tender crumb. There’s something almost magical about watching a tray of these scones puff up in the oven, transforming simple pantry staples into the ultimate comfort food. Whether served warm with jam, clotted cream, or just as they are, you’re in for a real treat that’s as easy to make as it is delightful to eat!
Ingredients You’ll Need
This Buttermilk Scone Recipe is delightfully fuss-free, relying on familiar ingredients that come together in the most satisfying way. Each one plays a crucial role in creating scones that are tall, soft, and full of flavor—nothing fancy, just absolute deliciousness!
- Plain flour or all purpose flour: Forms the sturdy foundation for your scones, just be sure to measure accurately for the best texture!
- Baking powder: The secret to those lofty, sky-high scones with a beautiful rise.
- Caster sugar or granulated sugar: Adds a touch of sweetness that complements the rich, buttery flavor.
- Salt: Enhances every flavor note and keeps things perfectly balanced.
- Unsalted butter (cubed and chilled): Cold butter is what creates that irresistible flakiness and depth of flavor.
- Large egg (cold): Binds everything together and gives the scones their tender crumb.
- Full fat buttermilk (cold): The hero ingredient for ultra-moist, melt-in-your-mouth scones with a slight tang.
- Large egg, beaten (for egg wash) or leftover buttermilk: For that gorgeous, gleaming finish on top of every scone.
How to Make Buttermilk Scone Recipe
Step 1: Prep Your Baking Tray
Start by lining a large baking tray with baking or parchment paper. This ensures your scones won’t stick and makes cleanup a breeze, so you can focus on enjoying every step of the process.
Step 2: Combine the Dry Ingredients
In a large mixing bowl, whisk together flour, baking powder, sugar, and salt. This not only evenly distributes the leavening and flavor, but it also helps avoid any pesky lumps, setting your scone dough up for airy perfection.
Step 3: Work in the Cold Butter
Add your cubed, chilled butter to the dry mix. Use your fingertips or a pastry cutter to quickly rub the butter into the flour until you’re left with small, flat pieces. This is the real magic—those little butter chunks will melt in the oven, creating soft scone layers you’ll love. Try to work swiftly to keep everything cold!
Step 4: Whisk the Wet Ingredients
In a separate bowl, whisk together the egg and cold buttermilk until combined. Don’t skip this step—whisking ensures your scones will bake up evenly rich and golden.
Step 5: Bring the Dough Together
Pour the egg-and-buttermilk mixture into your dry ingredients and gently stir with a fork until everything is just combined. The dough will look a bit shaggy at this stage, and that’s totally perfect. Tip it onto your bench and gently bring it together into a rough round disc—no kneading necessary!
Step 6: Stack and Press for Flaky Layers
With clean hands, divide the dough into four quarters. Stack them on top of each other and lightly press down. This clever little trick is how you get those bakery-style layers in your Buttermilk Scone Recipe. Gently shape the dough to about 3 cm (1 inch) thick for the ultimate height and fluffiness.
Step 7: Cut Out Your Scones
Using a 6 cm (2.5 inch) round cookie cutter, press straight down to cut out 8 to 9 scones—avoid twisting, as that can squash those beautiful layers. Gather scraps, pat together once, and cut out any extras. It’s totally fine if the last scone looks a little rustic; it’ll taste just as delicious!
Step 8: Chill the Scones
Transfer your scones to the lined baking tray, making sure they’re not touching. Slide the tray into the fridge for at least 30 minutes. This rest keeps the butter cold and helps the scones rise even higher in the oven for that classic Buttermilk Scone Recipe look.
Step 9: Preheat and Egg Wash
While the scones chill, preheat your oven to 220°C (430°F) or 200°C (390°F) for fan-forced. Just before baking, brush the tops with beaten egg or a bit of extra buttermilk to give them a beautiful, shiny finish.
Step 10: Bake to Golden Perfection
Bake the scones for 15 to 16 minutes, or until they’re puffed and gorgeously golden brown. Let them cool completely before serving, if you can resist the aroma wafting through your kitchen!
How to Serve Buttermilk Scone Recipe
Garnishes
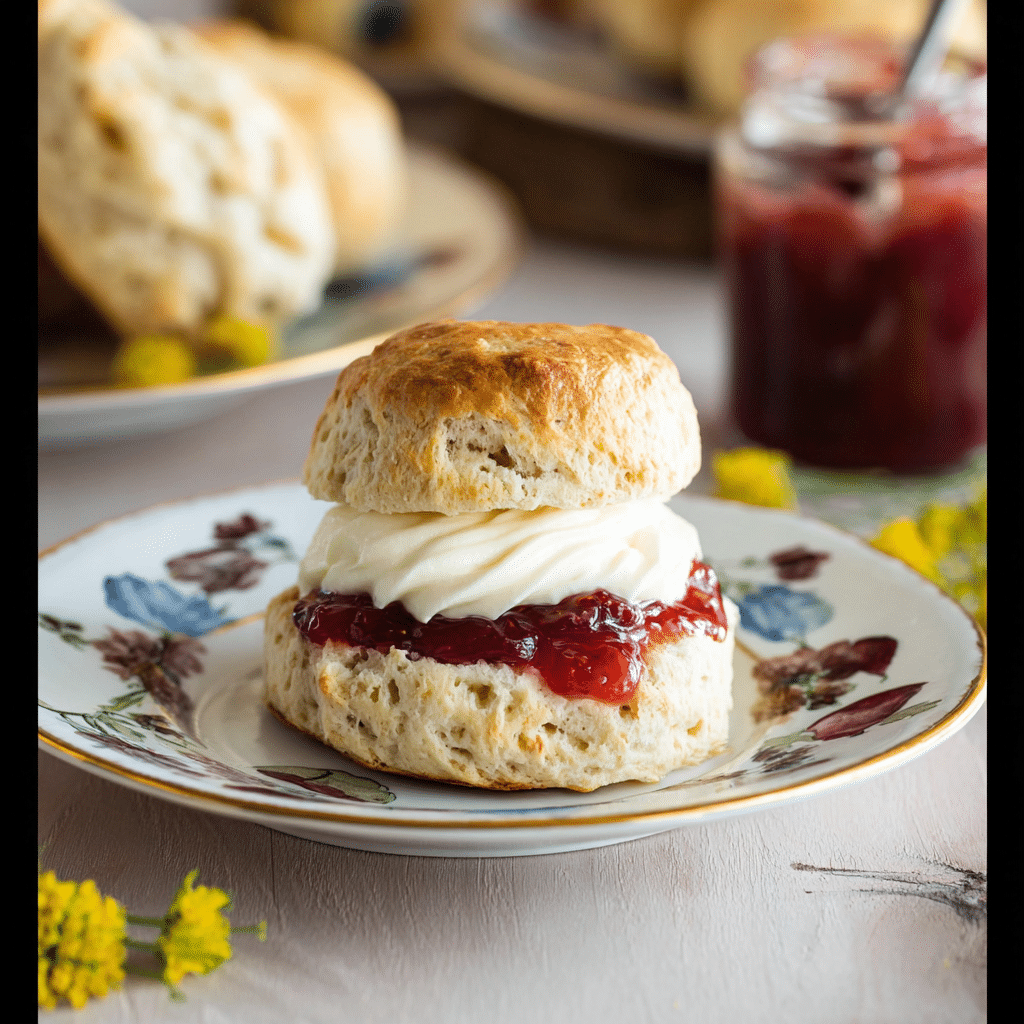
The simplest way to crown your Buttermilk Scone Recipe is with a generous swoop of clotted cream and a spoonful of fruity jam. If you’re feeling extra, a dusting of powdered sugar or a drizzle of honey can add a lovely touch without overpowering the delicate flavor of the scones.
Side Dishes
Scones are a natural partner to a robust cup of tea or freshly brewed coffee. For a more indulgent spread, serve them alongside bowls of fresh berries, soft butter, or a platter of flavorful cheeses for an afternoon teatime that feels truly special.
Creative Ways to Present
Stack your warm scones high on a tiered cake stand for a picture-perfect centerpiece. For brunch, layer each scone with cream and berries for rustic shortcakes, or cut into cute mini rounds for bite-sized treats at parties or picnics. However you go, the Buttermilk Scone Recipe guarantees smiles all around!
Make Ahead and Storage
Storing Leftovers
Once cooled, leftover scones can be wrapped in plastic wrap and popped into an airtight container. They’ll stay soft for a day or so at room temperature, but if you want that just-baked texture, a gentle reheat works wonders.
Freezing
The Buttermilk Scone Recipe freezes beautifully! Just cool them completely, wrap each scone in plastic, and stash them in a freezer bag or container. When you’re ready to savor them again, let them thaw at room temperature or heat gently for that fresh-from-the-oven experience.
Reheating
To revive day-old or thawed scones, pop them in a preheated oven at 160°C (320°F) for about 5 to 8 minutes, or give them a quick zap in the microwave. This brings back that wonderful softness and makes your kitchen smell incredible all over again.
FAQs
Why is cold butter important in this Buttermilk Scone Recipe?
Cold butter is key for achieving those flaky, tender layers. As the butter melts during baking, it releases steam, which helps the scones puff up. This simple trick makes your scones extra light and wonderfully textured!
Can I substitute the buttermilk with regular milk?
If you don’t have buttermilk on hand, you can use whole milk for a similar effect, but keep in mind that the subtle tang and extra tenderness that buttermilk brings are what truly set this recipe apart. In a pinch, you can add a teaspoon of lemon juice or vinegar to milk and let it sit for a few minutes as a substitute.
How do I keep my dough from being tough?
The secret is to mix your dough just until combined and handle it gently. Overworking the dough activates too much gluten, resulting in scones that are dense rather than fluffy. Remember, a light touch is your friend here!
Why shouldn’t I twist the cutter when stamping out scones?
Twisting the cutter can seal the edges of your dough, making it harder for your scones to rise evenly. Press the cutter straight down and lift cleanly for sky-high scones every time.
Is it necessary to chill the scones before baking?
It might seem like an extra step, but chilling helps firm up the butter and relaxes the gluten, resulting in scones that are ultra-flaky and beautifully tall. That short trip to the fridge really does amplify the results in this Buttermilk Scone Recipe!
Final Thoughts
Now that you know just how simple and rewarding the Buttermilk Scone Recipe is, I hope you’ll roll up your sleeves and give it a go. There’s nothing quite like the satisfaction of pulling a tray of tender, golden scones from your oven and sharing them with loved ones. Happy baking—and may your next batch be your most delicious yet!
Print
Buttermilk Scone Recipe
- Prep Time: 1 hour
- Cook Time: 16 minutes
- Total Time: 1 hour 16 minutes
- Yield: 9 scones
- Category: Breakfast/Brunch
- Method: Baking
- Cuisine: British
- Diet: Vegetarian
Description
Delicious Buttermilk Scones made from scratch with a perfect balance of sweetness and flakiness. These scones are a delightful treat for breakfast or teatime.
Ingredients
Dry Ingredients:
- 480 grams (3 and 1/3 cups + 1 tablespoon) plain flour or all-purpose flour
- 20 grams (4 level teaspoons) baking powder
- 80 grams (1/3 cup + 1 tablespoon) caster sugar or granulated sugar
- 1/2 teaspoon salt
Wet Ingredients:
- 130 grams (1/2 cup + 1 tablespoon) unsalted butter, cubed and chilled
- 1 large egg, cold
- 300 ml (1 and 1/4 cup) full-fat buttermilk, cold
- 1 large egg, beaten, for egg wash OR a few tablespoons of leftover buttermilk
Instructions
- Prepare Dough: Mix dry ingredients, cut in butter, add wet ingredients, form dough.
- Shape Scones: Cut and shape scone dough, chill in fridge.
- Bake: Brush with egg wash, bake until golden brown.
Notes
- Plain Flour: Measure accurately to avoid dry scones.
- Buttermilk Substitute: Regular whole milk can be used.
- Storage: Best served fresh or freeze leftovers for later enjoyment.
- Make-ahead: Dough can be refrigerated for up to 24 hours.
Nutrition
- Serving Size: 1 scone
- Calories: 280
- Sugar: 9g
- Sodium: 320mg
- Fat: 12g
- Saturated Fat: 7g
- Unsaturated Fat: 4g
- Trans Fat: 0g
- Carbohydrates: 38g
- Fiber: 1g
- Protein: 5g
- Cholesterol: 55mg

